

Outside the home
A suitable external wall may work well when the equipment is rated for outdoor use. The design must account for sunlight, rain, flooding, openings and service access.
A practical guide for Victorian homes
Your home battery installation guide. Understand the clearances, choose a practical location and see how the cable run to your meter board affects your quote.
Discuss your installation ↗Explore the guide ↓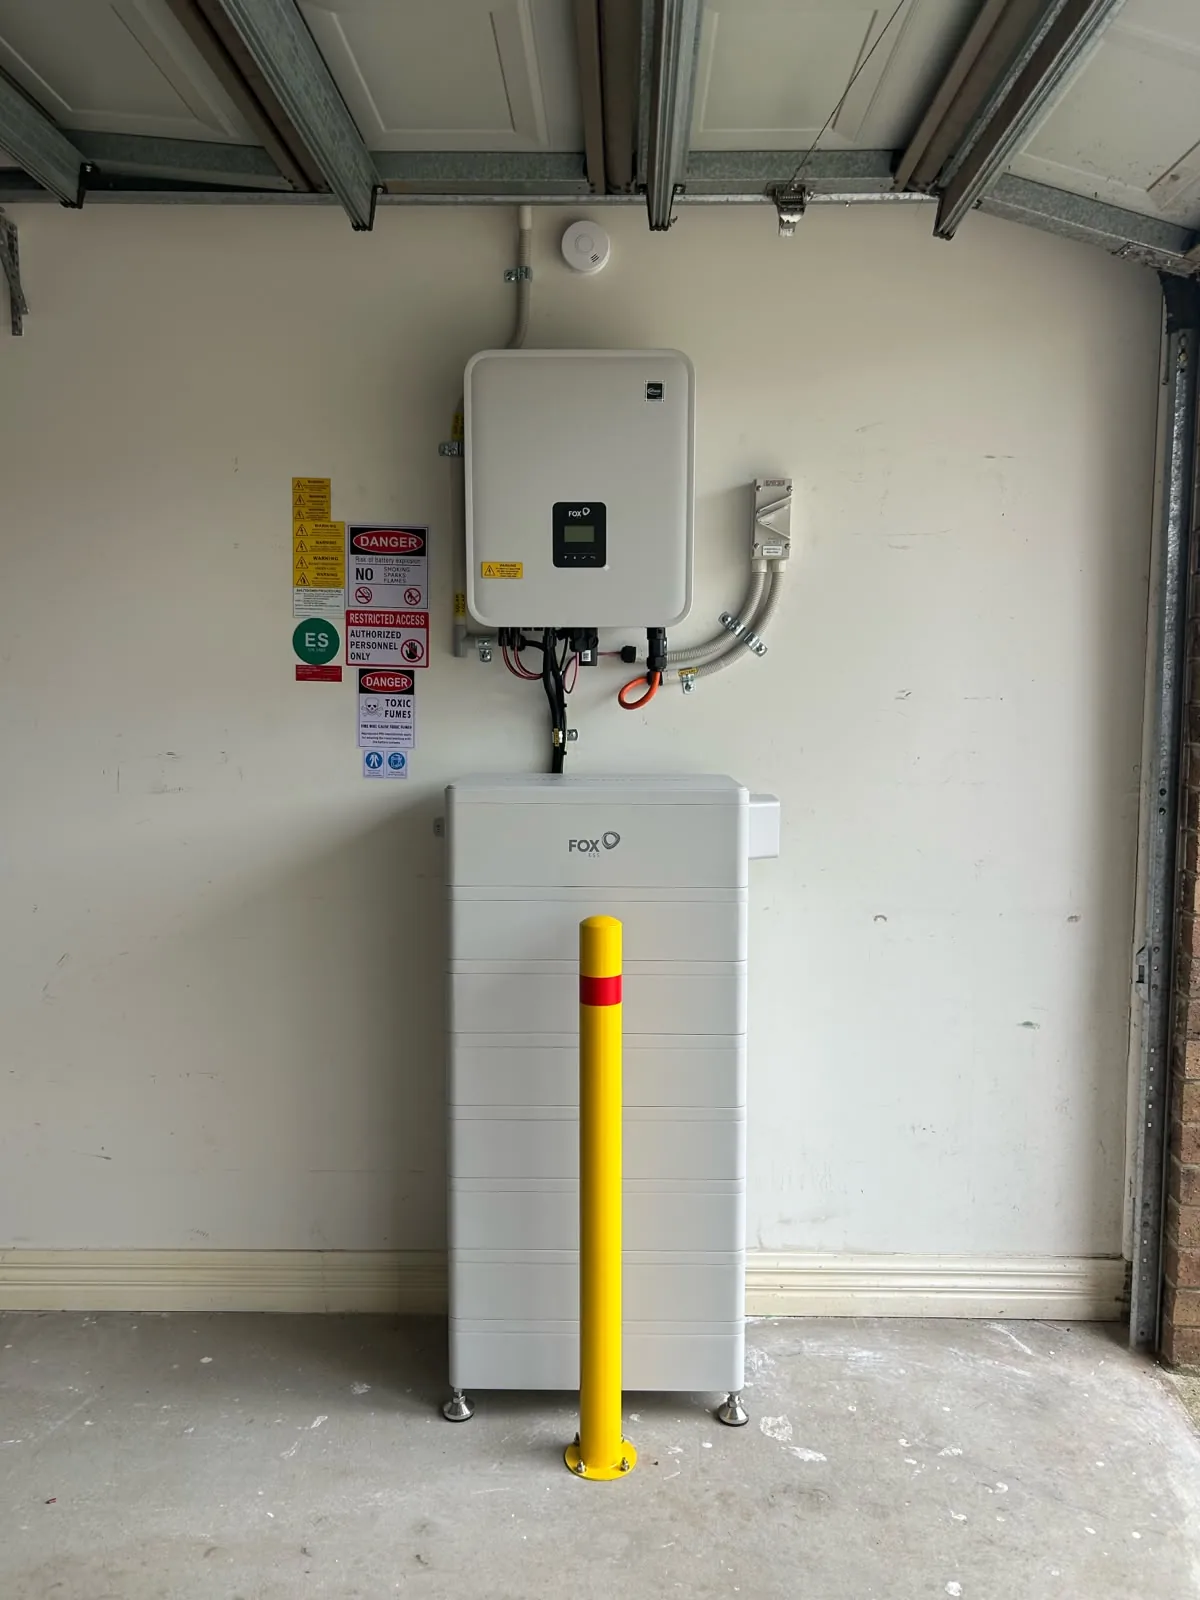
Location comes first
An empty section of wall is only the starting point. The room behind it, nearby equipment, weather exposure and access all help determine whether a location is suitable.
A suitable external wall may work well when the equipment is rated for outdoor use. The design must account for sunlight, rain, flooding, openings and service access.
A garage may be an option after assessment. Vehicle impact, escape routes, wall construction and the manufacturer’s ventilation requirements need to be considered.
A shorter practical route to the meter board can reduce cabling. Runs over the standard 2-metre allowance attract extra charges, with the scope quoted before proceeding.
A safe place for stored energy
Our installation assessment considers the whole area around the proposed battery position.
Illustration only. Not to scale and not a clearance diagram. Your installer confirms the layout and required separation distances.
Bedrooms, lounges and similar living spaces are unsuitable battery locations. A study can also be a habitable room. The installer must assess adjoining rooms and relevant wall and opening requirements.
A non-habitable space is not automatically suitable. Access, hazards, construction, equipment requirements and applicable installation rules still need to be checked.
The measurements that matter
These original Flexi Power illustrations explain key location checks for home batteries. Dimensions are minimums for the situations described; manufacturer requirements and the complete site design also apply.
Allow at least 600 mm horizontally from the vertical side of a window or ventilation opening serving a habitable room. The restricted zone also extends below the opening.
Keep at least 900 mm below applicable openings. Exits with an opening width of 900 mm or less also have a 600 mm separation requirement and a restricted zone below.
Where a barrier is required behind the battery, provide at least 600 mm each side and 900 mm above. A battery on or within 300 mm of a wall adjoining a habitable room needs the wall construction assessed. Corners and low ceilings may require the protection to continue around them.
Openings wider than 900 mm have different provisions from narrow exits. Maintain the required safe egress; corridors, hallways and lobbies need at least 1,000 mm. Vehicle impact protection may also be required.
Technical basis: AS/NZS 5139:2019 including Amendment 1:2025; Clean Energy Regulator solar battery inspection checklist (July 2026), pp. 23–26; ERAC installation guidance, read with the amended standard.
Location affects installation cost
The further your battery and inverter installation is from the meter board, the more cabling may be needed—and that can add to your installation cost.
We measure the practical cable route, including rises, corners and any difficult access, rather than only the straight-line distance.
Cable runs over 2 metres to the meter board attract extra charges. The route, cable size and additional work are assessed and quoted before proceeding.
Your accepted quote and current installation inclusions confirm the scope for your property. A safe, compliant position takes priority over minimising cable length.
Check installation inclusions ↗Illustration only · Route and connection arrangement depend on the site. The installer confirms the electrical connection point and any required board work.
From enquiry to handover
Share your electricity bill, existing solar details and photos so we can discuss system size, location and backup needs.
We arrange the relevant technical assessment and approvals. Your quote sets out the equipment, scope and any agreed extras.
The installation team fits and tests the system. Required inspection and connection steps are completed as applicable.
Receive your handover information, shutdown instructions and warranty details, plus monitoring setup where included.
A little preparation helps
Clear photos help us identify questions early and provide a more accurate installation scope.
Please do not remove electrical covers or approach unsafe equipment to take photos.
Common questions
There is no single distance that suits every arrangement. The installer needs to identify the hot water appliance, flue, gas equipment and proposed battery and inverter positions, then apply the relevant electrical, gas and manufacturer requirements. Do not treat a general battery clearance as approval for gas equipment.
For applicable windows and ventilation openings serving a habitable room, the location checks include 600 mm horizontally from the vertical side and 900 mm below. The installer must confirm the opening type, room served and complete layout. See the clearance illustrations above.
Not automatically. The installer must assess the complete wall construction, the room behind it and the applicable requirements. Where a protective barrier is required, its material and extent must suit the compliant design.
Yes, subject to the site design. Longer routes generally need more cable and can add labour and material costs. Our standard cable-run allowance to the meter board is 2 metres; longer runs attract extra charges, quoted before proceeding. The installer also confirms cable sizing, electrical performance and the connection arrangement.
Only if the selected system and installation are designed for that purpose. Some systems support selected circuits, while others can support a broader backup arrangement. Available power, supply phases, appliance starting loads and stored energy all affect what can run. Your quote should state the agreed backup scope.
Often, but the approach depends on your existing inverter, solar configuration, electrical supply and the proposed equipment. We assess compatibility before recommending a system or changes to your installation.
The appropriately qualified designer and installer must confirm the site-specific design against the current applicable standards, Victorian requirements, network conditions and manufacturer instructions. This guide helps you prepare; it does not approve an installation location.
Tell us about your property, existing solar and what you want your battery to do. We’ll help you take the next step.
General planning information, prepared October 2026. Installation must follow the current applicable standards, including AS/NZS 5139 and amendments, other relevant electrical and gas requirements, and manufacturer instructions.
Further reading: CER inspection checklistEnergy Safe VictoriaSolar Victoria buyer’s guide